Hello hello, awesome makers!
I've been feeling very crafty these days, I think I'm going to buy that sewing machine this weekend because, every time I come to the office I just start daydreaming of all the projects I would love to make. Also, watching the sewing ladies makes me want to sew so bad!
Well, today I want to share an awesome DIY project with you. What inspired me to make this little project was my actual make up brush holder, which is very damaged and that's why I decided to sew a new one. I loved this project so much I even made the template so it's easier for you guys to make!
Supplies you will need:
- Fabric of your choice (10.5’’ x 11.5’’)
- One fabric strip (2 inches wide)
- Scissors
- Sewing machine
- Elastic trim
- Ruler
- Batting (10.5'' x 11.5'')
- Rotary cutter
- Hot glue
- Template (Click here to download)

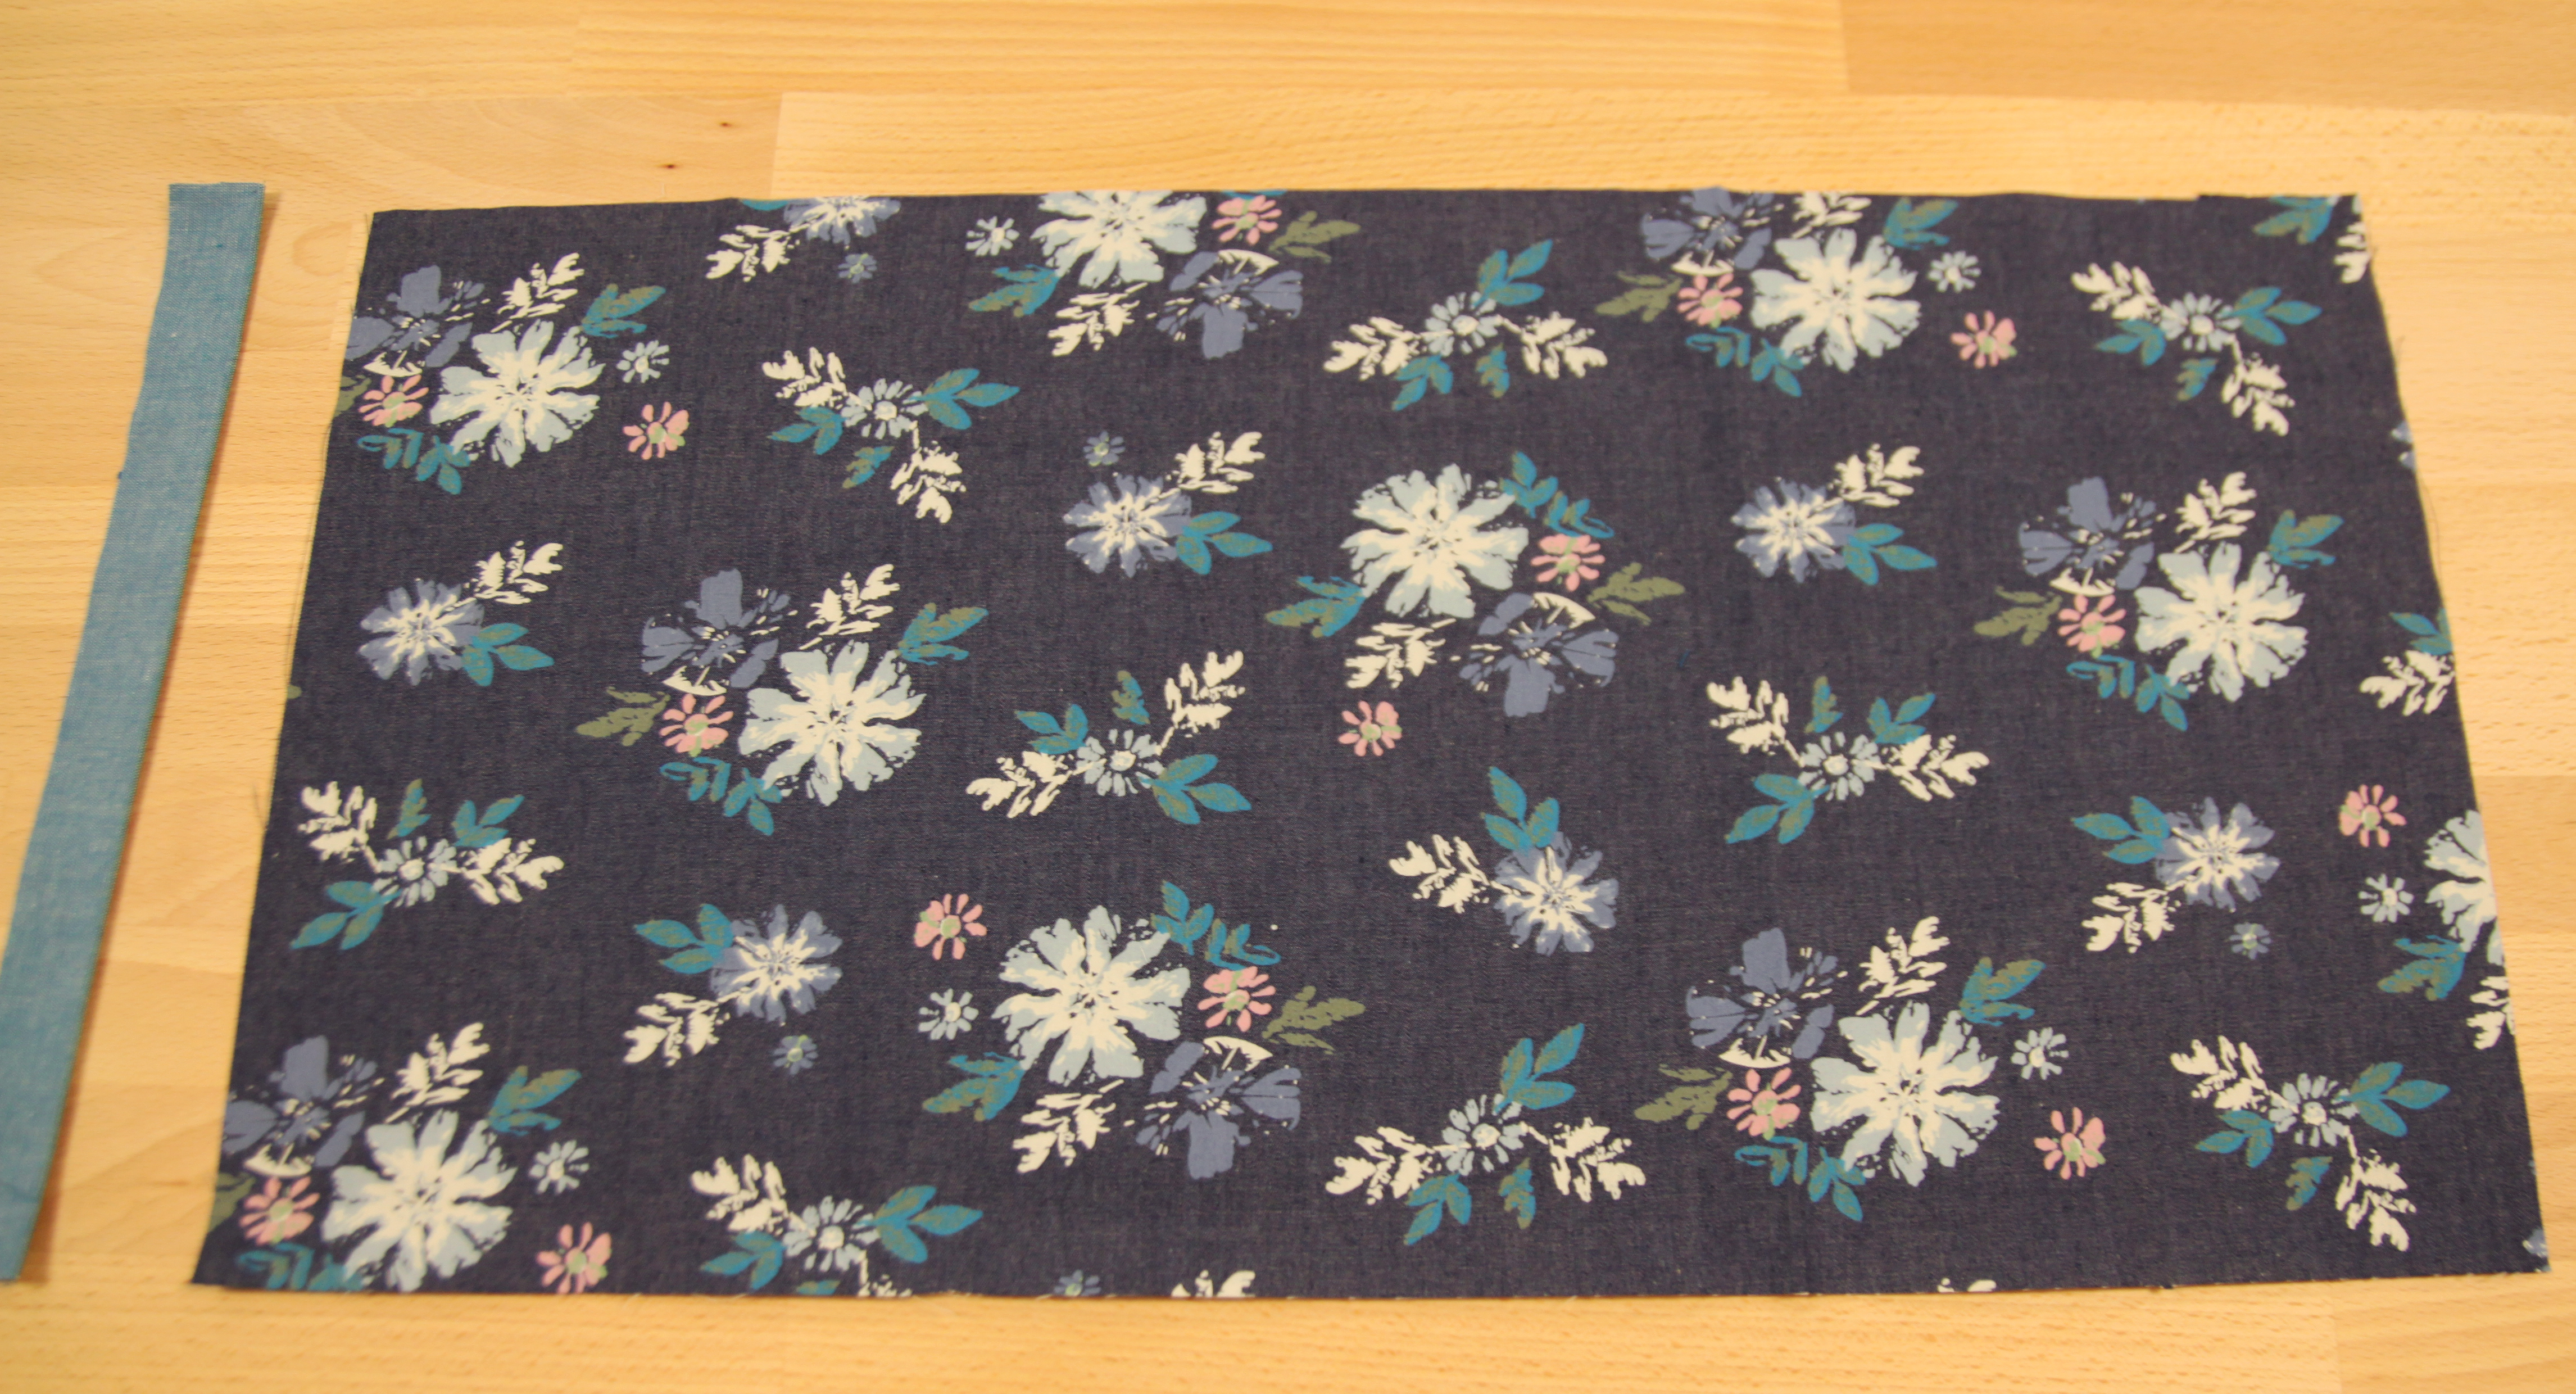
1) This is how it will look when you cut the fabric.
2) Then, fold the fabric the same way it is on the template.

3) Now, take the fabric strip and fold it twice before sewing it to the other piece of fabric.

4) This is how it will look after sewing the two pieces together.

5) After sewing the two pieces together, remember to iron the fabric. Also, you will put the batting on the back of the fabric and make sure to iron it with the fabric on top. So it stays straight without undesired wrinkles!

6) So, as you can see I decided to use the Serger machine on one of the sides (this is optional you can use a zig-zag stitch on your machine) I just did it to have clean edges without loose threads!

7) You will sew both right and left sides. Also, remember that in this step is where you will sew the elastic trim in one of the sides. I glued it and then I sewed it when it was dry (I used hot glue). You will be able to fold the fabric to the right side from the middle of your brush holder.
It's looking very pretty. Isn't it? :) Well.. Now let's get to the final touches.

8) Here you have to be very careful when sewing the pockets. Make sure to measure with a ruler and mark 1.5 inches for two of the pockets and then 1 inch for the rest! (This is up to you. You can make as many pockets as you want)
DONE! This is how it will look when finished.
I'm in LOVE! This is the coolest project I've done so far since started sewing. OH! And if you are wondering which fabric I used, I had the biggest pleasure sewing with one of our newest denim prints named Arctic Avens. They are so soft and versatile. Next time I think I will sew myself some pants :)
I hope you guys enjoyed!
Lots of love,
Caro!


Leave a reply to Carrie Cancel reply