Striped Landscape

Hello my friends,

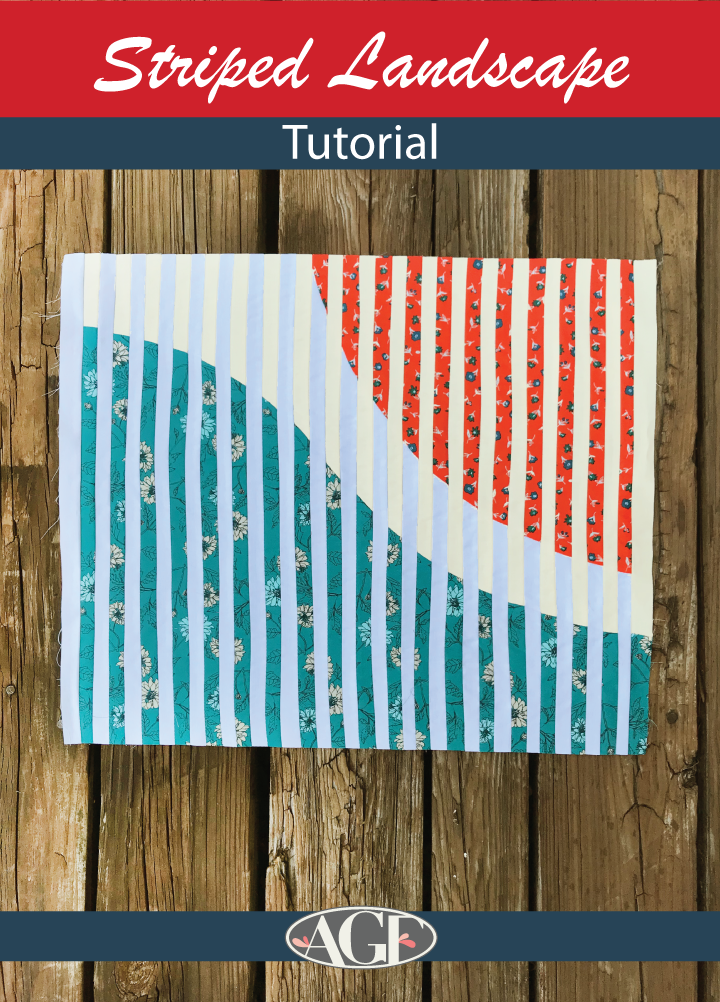
Do you love to show off complex looking projects that are truly easy to make? If so, me too! For the romantic and delicate Everlasting collection, we will be making an 18" pillow top combining the improvisational and the strip piecing techniques.

Just so you know, the reason this tutorial is called "Striped Landscape" is because once I finished it, it reminded me of the vacation I want to take in a quiet beach with beautiful sunsets! ;)

The featured fabrics are Something Blue (Fabric A), Creme de la Creme (Fabric B), Snow (Fabric C), and Cherished Wishes (Fabric D).


Striped-Landscape8

Start by creating two simple blocks that measure at least 21" x 21". Since you will be trimming a lot, it is better to start with bigger pieces and have room for error.

Striped-Landscape9

Improvisational Piecing:

Align both fabrics facing you, and using the rotary cutter make an improvised curve.

Remove excess fabric and mark strategic points to use as guides while joining your pieces.

The edges won't match after sewing, so don't worry, just trim the imperfections.
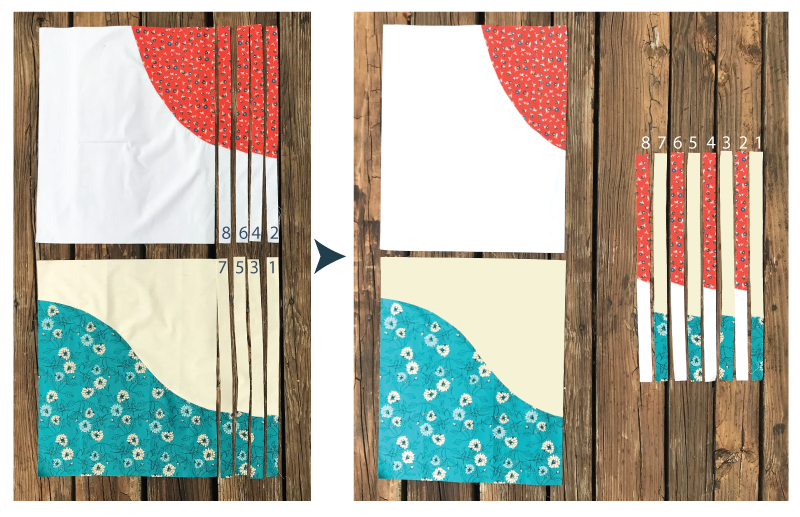
Striped-Landscape-11

Strip Piecing:

Once you have made both blocks, square them to the same size.

Start cutting each block into 1" strips, keeping them in order.

Intercalate one strip from block 1 and one strip from block 2 and place them to one side.

You will start seeing how both blocks come together into one beautiful pillow top.


Striped-Landscape10
After all your strips are joined, press and square.


Striped-Landscape4


The fun thing about strip piecing is that it can be used with many piecing methods. Do you enjoy improvising, or do you prefer accurate techniques?

Happy landscape making!

– Laucara

10 responses to “Striped Landscape”

  1. Diane B Avatar
    Diane B

    Laucara this is too cool! Excellent piecing on your behalf…wow it’s really amazing.
    True I do prefer more accurate techniques but I’ve got to try some improvisation soon!

    Like

  2. Laura Avatar

    HI Diane! thank you, please try to improvise, you will always be happy with the unexpected results!

    Like

  3. Rosemary Bolton Avatar
    Rosemary Bolton

    Laucara, this is absolutely beautiful!!

    Like

  4. Laura Avatar

    Thank you so much Rosemary!!

    Like

  5. Callie Avatar
    Callie

    Wow, you guys have so many nice tutorials, patterns, and FABRICS!
    I’m new to the blog.. thank you for sharing!! So much creativity in everything you all do.

    Like

  6. Emily Watts Avatar

    This is so stunning! I stared at the photo forever before reading the blog post and couldn’t figure out how it was done! And, of course, the answer was brilliant and simple! Thanks so much for sharing.

    Like

  7. Jan Vincent Avatar
    Jan Vincent

    I was stopped in my tracks when I saw this quilt. I understand, from your tut, that it is a pillow top but I thought is was a quilt top. To make it a quilt top do you have any idea how big the squares the two original need to be? I realize the fabric would need to be pieced to make up that square. My idea is to reverse the color placement and change the aqua to navy blue to make it a Quilt of Valor for a deployed woman in our church.

    Like

  8. Laura Avatar

    Hi Callie!! thank you so much! It makes us really happy that you appreciate our work.

    Like

  9. Laura Avatar

    Hi Emily!! I love your comment! that is why I think this technique is so cool, because it looks complicated, but it is very simple to make. I am glad you enjoyed the tutorial.

    Like

  10. Laura Avatar

    Hi Jan, thank you so much, that is such a wonderful and sweet gesture on your part! I love the color replacement you are planning to do.
    If you are planning to cut the unfinished strips 1″ wide like the tutorial, then the big squares need to be 4″ to 6″ longer and wider than the finished quilt size, and the only reason for this is so you have some extra space for error at the end when you square the quilt top.
    Or if you prefer you can tell me what is the finished size of the quilt and how wide you want the finished strips to measure so I can calculate and give you a more accurate answer.
    Please let me know if this is helpful or if you have any other question!
    Have fun!!!

    Like

Leave a reply to Jan Vincent Cancel reply

We’re AGF

At Art Gallery Fabrics®, we aspire for the best, from creation to delivery with reliable quality, and top customer service. We believe strongly in the quality of the fabric that is transcended in our superior thread count and fine weave, our mills uphold sustainable printing methods and are OEKO-TEX certified 

Latest Lookbook

Let’s connect